

Create a Case
Cases are the core of Clasp. Everything connected to a case — documents, tasks, billing, communications, and calendar events — lives in a case.
Before you start: A contact must exist before creating a case. If the client isn't in Clasp yet, create a contact first.
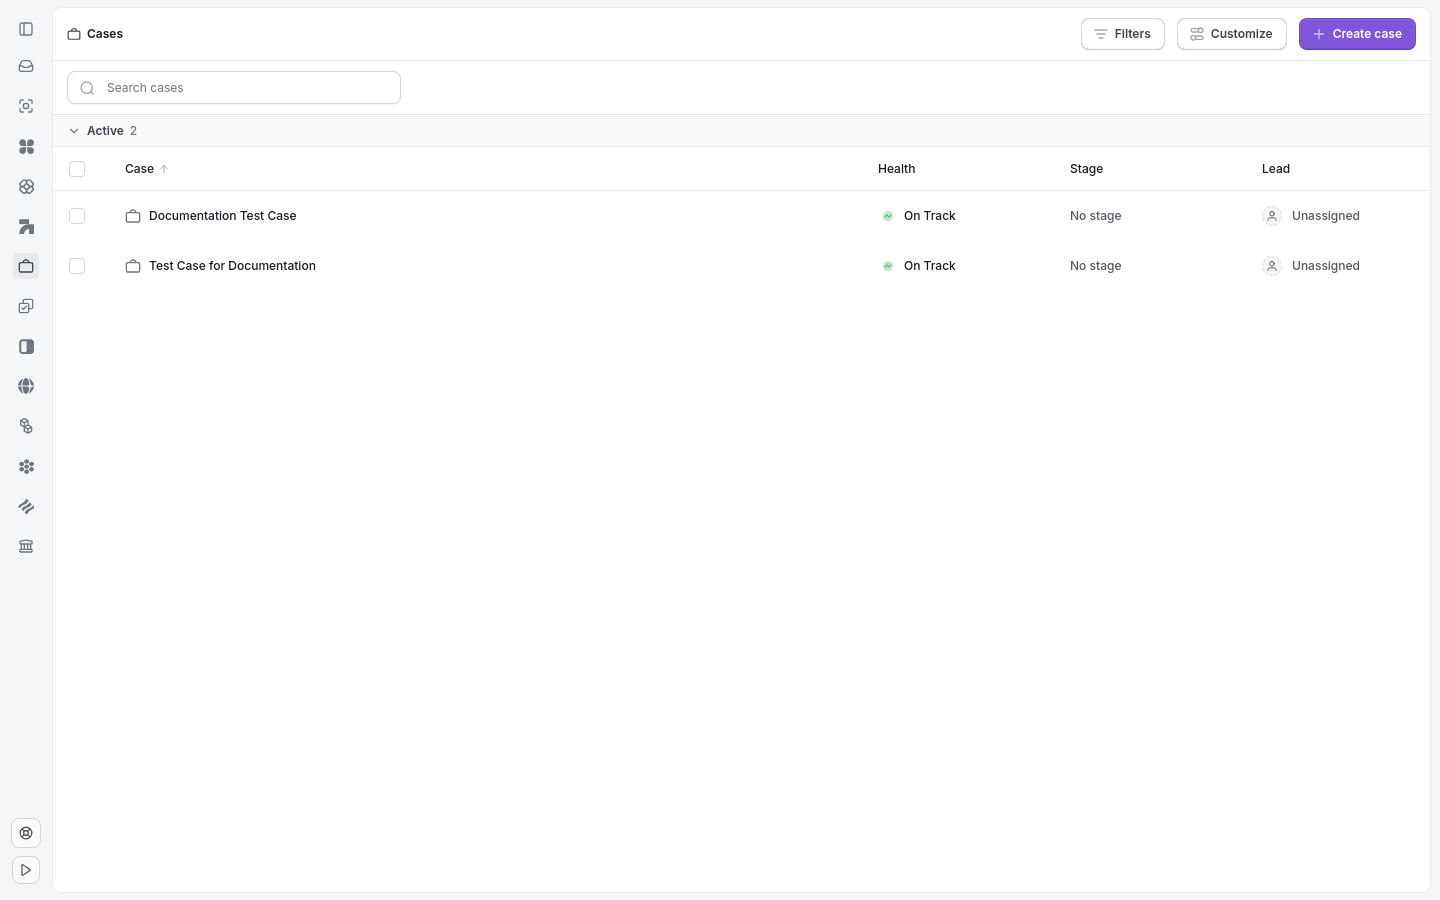
The Cases page lists all firm cases and the Create Case entry point.
To create a case:
Go to Cases in the sidebar.
Click + Create Case
Enter a Case Name. Use a format consistent with your firm's naming convention, such as "Smith — Divorce" or "Estate of Williams".
Under Contact, search for and select the client. If the client is new, you can create the contact directly from this field.
Select a Billing type. This determines how you bill for a case. Choose between: Hourly, Flat Rate, and Contingency.
Optional: Set the Lead Attorney, Open Date, Billing Type, and Referral Source. Additional billing options appear based on the type you select.
Click Save.
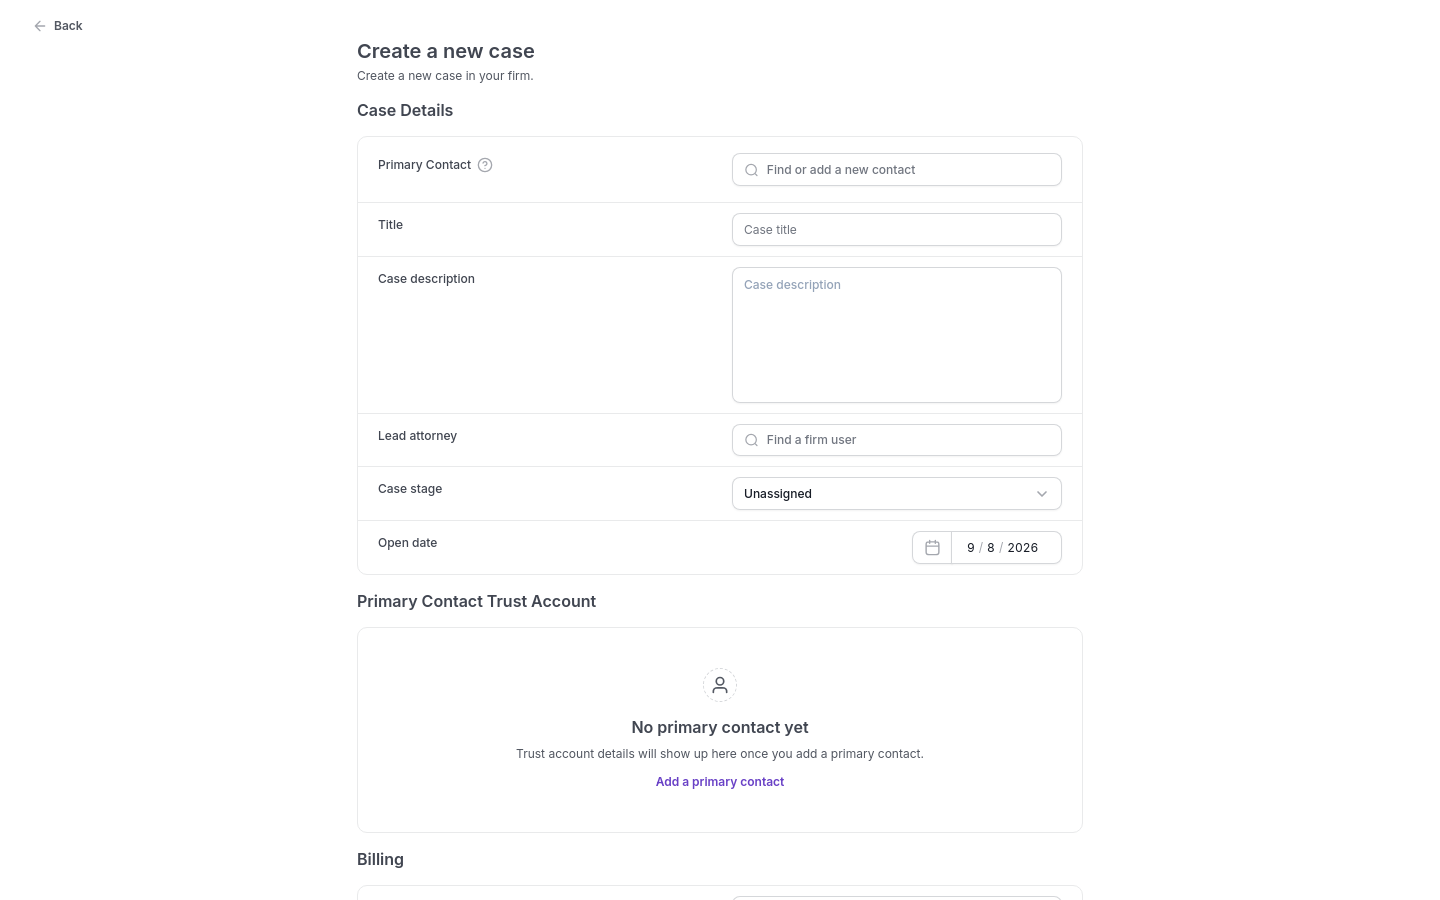
Fill in the case name and select a contact.
After saving, the case opens immediately. You are taken directly to the new case, where you can add tasks, upload documents to Clasp Drive, log time, send messages, and invite the client to their portal.
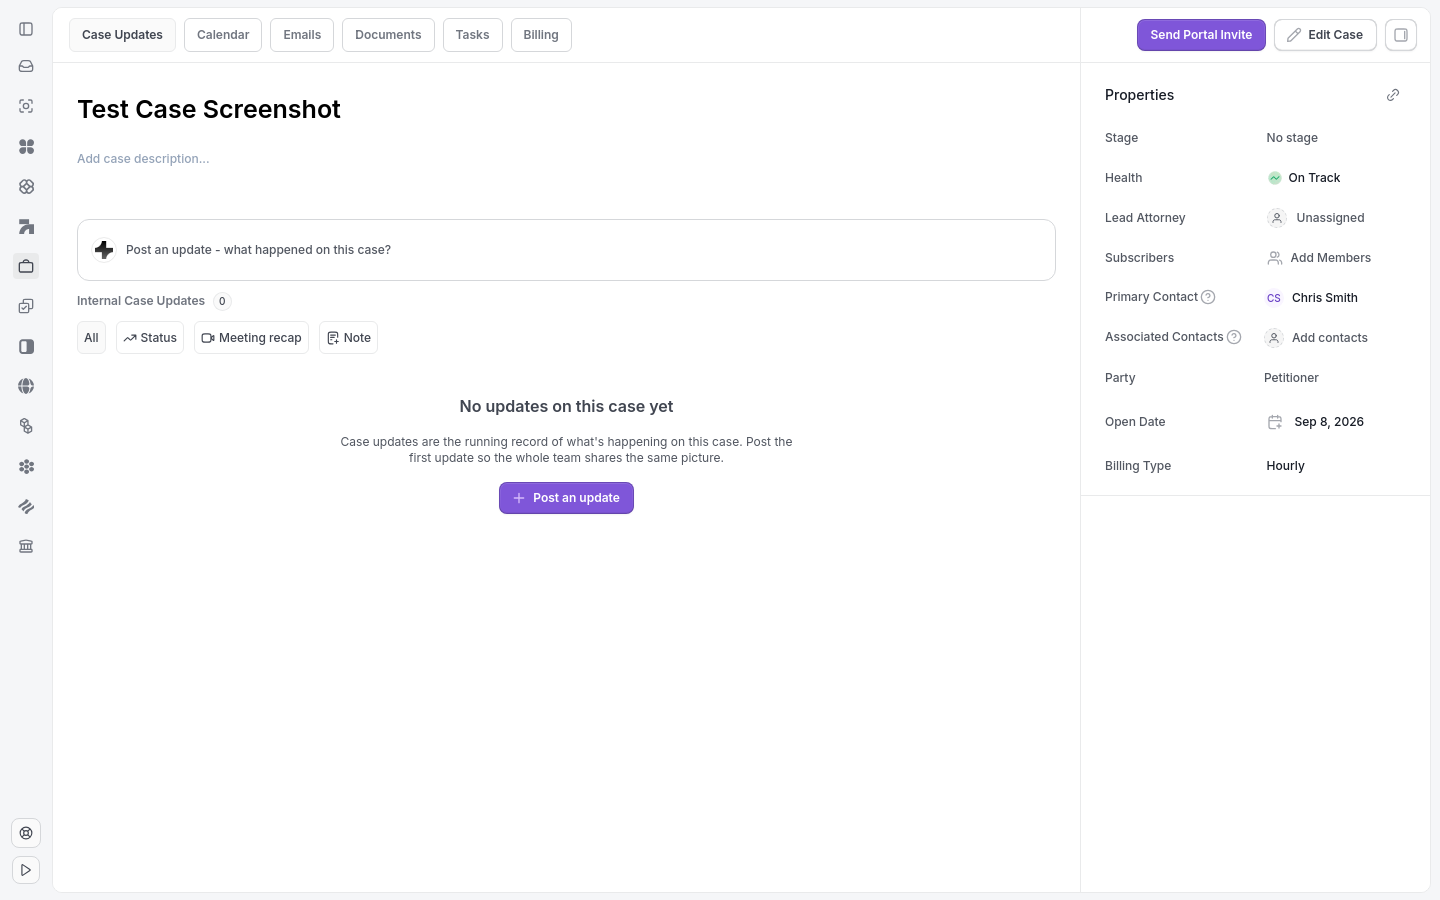
The case opens with its tabs for documents, tasks, billing, and more.
Note: The case must be linked to a contact. If the contact doesn't exist yet, create it first — you can't save a case without one.
Related: Add Contacts to a Case · Assign a Lead Attorney · Invite a Client to Their Portal